Every webmaster eventually hits a breaking point with their web hosting provider. Perhaps your current host recently hit you with a 300% renewal price hike, your support tickets sit unanswered for days, or your WordPress pages crawl at a sluggish three-to-five seconds during peak traffic hours. You know your website deserves modern, high-speed LiteSpeed NVMe infrastructure, yet one paralyzing anxiety holds you back: the fear of website downtime.
What happens if database tables corrupt mid-transfer? What if customer orders are lost during checkout? What if Google crawlers encounter 500 Internal Server Errors and penalize your hard-earned SEO keyword rankings?
Here is the reassuring reality: a professional WordPress migration should result in exactly ZERO seconds of downtime.
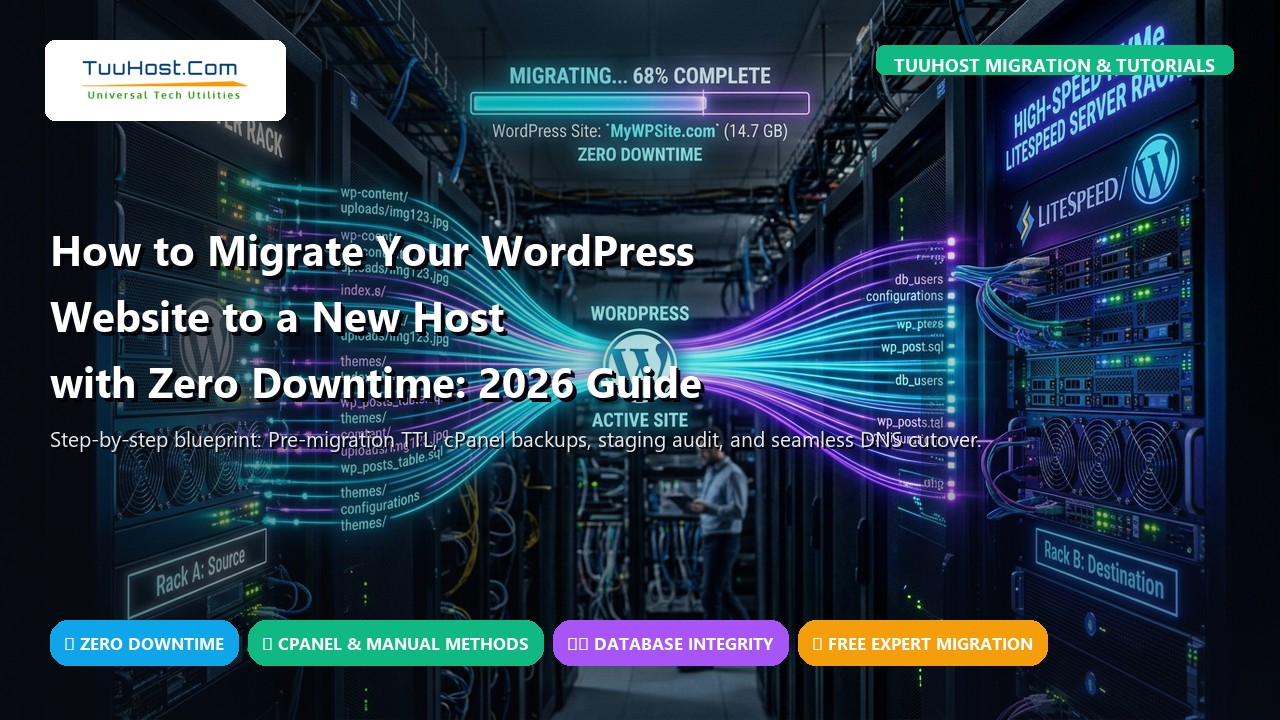
By running your new and old hosting servers in parallel and orchestrating an orderly DNS cutover, your visitors and search engine bots will never experience an outage. In this comprehensive 2026 blueprint, we walk you through the three proven migration workflows—cPanel-to-cPanel transfers, manual SFTP/MySQL migrations, and plugin-assisted moves—complete with the legendary local hosts file testing trick and post-migration performance tuning.
📋 Table of Contents
- 1. The Mechanics: How Zero-Downtime Parallel Hosting Works
- 2. Phase 1: Pre-Migration Preparation (48 Hours Prior)
- 3. Method A: cPanel-to-cPanel Full Backup (Fastest & Most Complete)
- 4. Method B: Manual File & Database Transfer (Universal Method)
- 5. Method C: Automated Plugin Migration (All-in-One WP / Duplicator)
- 6. Phase 2: Testing Before DNS Cutover (The Hosts File Trick)
- 7. Phase 3: Seamless DNS Cutover & SSL Activation
- 8. Post-Migration Verification & LiteSpeed Tuning
- 9. Frequently Asked Questions (FAQ)
- 10. Summary & Free White-Glove Migration by TuuHost
1. The Mechanics: How Zero-Downtime Parallel Hosting Works
The fundamental mistake amateur webmasters make is canceling their old hosting account before transferring their website, or changing their domain DNS nameservers before copying files. This creates a catastrophic “blackout window” where visitors see broken pages for up to 48 hours while global internet routers attempt to locate the new destination.
A professional zero-downtime migration operates on a parallel staging model:
- Your current website remains 100% live and fully operational on your old hosting server.
- You provision your new hosting account (such as a TuuHost LiteSpeed NVMe plan).
- You replicate all files, databases, mailboxes, and SSL certificates onto the new server.
- You verify the replica privately on your computer without touching public DNS.
- Once verified, you update your domain’s DNS A record. Traffic gradually and seamlessly transitions to the new host without a single visitor ever seeing an error screen.
- Your old host remains running in read-only mode for 48 hours as an emergency safety net.
2. Phase 1: Pre-Migration Preparation (48 Hours Prior)
Careful preparation prevents 99% of common migration headaches. Execute these foundational tasks before transferring any files:
1. Lower Your DNS TTL to 300 Seconds (Crucial Step!)
TTL (Time to Live) dictates how long external DNS resolvers cache your server IP address. By default, most domain registrars set TTL to 86,400 seconds (24 hours). Log into your DNS management portal (Cloudflare, cPanel Zone Editor, Namecheap, or GoDaddy) and lower the TTL of your root @ and www records to 300 seconds (5 minutes). When you later switch DNS, global traffic will repoint in minutes instead of days.
2. Clean Up WordPress Bloat & Transients
Why waste bandwidth moving junk data? Clear out your spam comments, empty the trash, purge post revisions, and delete expired database transients using a tool like WP-Optimize or Advanced Database Cleaner. Deactivate any aggressive caching plugins (e.g., WP Rocket, W3 Total Cache) temporarily so static cache files are not bundled into the migration archive.
3. Inventory Non-WordPress Assets
Make a quick checklist of external assets attached to your current cPanel account: active email accounts, forwarders, autoresponders, subdomains, custom DNS TXT records (SPF, DKIM, DMARC), and scheduled server cron jobs.
3. Method A: cPanel-to-cPanel Full Backup (Fastest & Most Complete)
If your old host and your new host both use cPanel, this is by far the cleanest, fastest, and most reliable migration method. A native cPanel archive copies 100% of your website files, MySQL databases, email accounts, forwarders, passwords, and SSL certificates in a single compressed archive.
Step-by-Step cPanel Transfer:
- Log into your old host’s cPanel and navigate to Backup or Backup Wizard.
- Click Download a Full Account Backup. Under Backup Destination, select Home Directory and enter your email address to receive notification upon completion.
- Click Generate Backup. cPanel creates a complete archive named
backup-MM.DD.YYYY_HH-MM-SS_username.tar.gzin your home directory. - Once generated, either download it directly to your computer or use cPanel File Manager to move it into
public_htmlto fetch it directly from the new server via high-speedwget. - Provide this archive (or your old cPanel login credentials) to TuuHost Support. Our systems administrators will restore the full account into your new server in minutes—maintaining your exact database passwords, email accounts, and folder hierarchies without touching a single configuration file!
4. Method B: Manual File & Database Transfer (Universal Method)
If your old host does not offer cPanel (e.g., proprietary custom dashboards like SiteGround, GoDaddy Managed, or Hostinger hPanel), you can execute a manual migration with complete precision.
A WordPress site consists of only two components: Files (core files, themes, plugins, and the wp-content/uploads/ directory) and Database (posts, pages, user accounts, and settings stored in MySQL/MariaDB). Move those two elements and update one configuration file (wp-config.php), and your site is 100% operational.
Step 1: Export the MySQL Database
- In your old hosting panel, open phpMyAdmin.
- Select your WordPress database from the left-hand menu.
- Click the Export tab at the top. Select the Quick export method and Format: SQL. Click Export to download
database_name.sqlto your computer.
Step 2: Compress and Download Website Files
- Open your old host’s File Manager or connect via SFTP (FileZilla).
- Navigate to your website root directory (usually
public_html). - Select all files and directories, click Compress, and create a
site_files.ziparchive. Downloading a single ZIP archive is 50x faster than downloading 20,000 loose individual image files over FTP. - Download
site_files.zipto your computer.
Step 3: Provision Database on the New Host
- Log into your TuuHost cPanel and open MySQL Database Wizard.
- Create a new database (e.g.,
tuu_wpdb). - Create a new database user (e.g.,
tuu_wpuser) and generate a strong 20-character password. - Assign the user to the database and check ALL PRIVILEGES.
- Open phpMyAdmin on the new cPanel, click your fresh database, navigate to Import, select your
database_name.sqlfile, and click Import.
Step 4: Upload Files and Update wp-config.php
- Inside new cPanel File Manager, upload
site_files.zipintopublic_htmland click Extract. - Locate and edit
wp-config.php. Update the following four constants with your new database credentials:
define( ‘DB_NAME’, ‘tuu_wpdb’ );
define( ‘DB_USER’, ‘tuu_wpuser’ );
define( ‘DB_PASSWORD’, ‘YourSuperSecurePassword123!’ );
define( ‘DB_HOST’, ‘localhost’ );
5. Method C: Automated Plugin Migration (All-in-One WP / Duplicator)
For standard WordPress websites under 2 GB, migration plugins provide a user-friendly GUI:
- All-in-One WP Migration: Install the plugin on your old site and click Export > File. On your new host, install a blank WordPress instance via cPanel Softaculous, install the plugin, and click Import. Note: The free version enforces a 512 MB upload limit.
- Duplicator: Generates a standalone installer script (
installer.php) and an archive package. Upload both to your new server root and runhttps://yourdomain.com/installer.phpto deploy. - Migrate Guru: Uses external cloud servers to transfer sites via FTP/cPanel credentials, bypassing server execution time limits.
6. Phase 2: Testing Before DNS Cutover (The Hosts File Trick)
This is the master key to zero downtime. How do you verify that your migrated site runs perfectly on the new server before pointing public DNS to it?
By modifying your computer’s local hosts file, you can trick your personal web browser into resolving yourdomain.com to your new server’s IP address, while the rest of the world continues seeing the live site on your old host!
| Operating System | Hosts File Path & How to Edit |
|---|---|
| Windows 10 / 11 |
Open Notepad as Administrator. Open C:\Windows\System32\drivers\etc\hosts.
|
| macOS / Linux |
Open Terminal and run sudo nano /etc/hosts.
|
Add the following line to the bottom of the file (replace with your new TuuHost server IP and domain name):
Save the file and open an incognito browser window. When you visit yourdomain.com, your browser loads the site directly from the new server! Test your admin login (/wp-admin), submit a test form, test WooCommerce checkout, and verify that media images render crisply.
Once you have verified that everything functions flawlessly, delete that line from your hosts file and save it. You are now 100% confident that the new server is ready for live traffic!
7. Phase 3: Seamless DNS Cutover & SSL Activation
Now comes the simplest step: executing the public DNS switch.
- Log into your domain registrar (or Cloudflare DNS dashboard).
- Update the primary A Record (
@) and CNAME Record (www) to point to your new TuuHost server IP address (e.g.,103.83.194.130). - Because you lowered TTL to 300 seconds in Phase 1, global DNS resolvers will update within 5 to 15 minutes.
- Inside your new cPanel, run AutoSSL to ensure your free Let’s Encrypt TLS 1.3 certificate secures the new connection.
- Keep your old hosting account active for at least 48 to 72 hours. This catches any residual traffic from remote DNS resolvers with sluggish refresh intervals. Once traffic completely ceases on the old host, you can safely cancel it.
8. Post-Migration Verification & LiteSpeed Tuning
With your website now operating on TuuHost’s enterprise infrastructure, take advantage of modern server acceleration:
- Install LiteSpeed Cache (LSCache): If your previous host ran on sluggish Apache or Nginx, install the official LiteSpeed Cache for WordPress plugin. Turn on object caching (Redis / Memcached), CSS/JS minification, and HTTP/3 support to slash your page load times under 500ms.
- Verify Email Routing: If your email accounts were moved to the new cPanel server, test sending and receiving emails to confirm MX and SPF records resolve accurately.
- Audit Google Search Console: Check the “Coverage” and “Crawl Stats” tabs in Search Console over the next 48 hours to ensure zero 404 or 500 errors were detected.
- Restore Standard DNS TTL: Increase your DNS TTL back to standard values (e.g.,
14400or86400seconds) to reduce DNS lookup overhead for visitors.
9. Frequently Asked Questions (FAQ)
Will migrating my WordPress website hurt my SEO rankings?
No—in fact, it will likely improve them! As long as your domain name, URLs, and permalinks remain identical and you experience zero downtime, search engines will notice only one significant difference: your website loads substantially faster. Faster Core Web Vitals and lower TTFB directly boost search engine rankings.
What happens to orders placed on WooCommerce during migration?
For high-transaction stores, briefly put your old site into “Maintenance Mode” (or read-only mode) right before your final database export. Export the database, import it into the new server, and switch DNS immediately. This ensures zero transactions are lost or split across two servers.
How long does DNS propagation take after changing A records?
If you lowered your TTL to 300 seconds 48 hours prior, propagation typically completes in 5 to 15 minutes globally. You can monitor global DNS propagation in real-time using free tools like whatsmydns.net.
Does TuuHost perform website migrations for free?
Yes! When you sign up for any TuuHost Shared, Cloud, or VPS hosting plan, our dedicated server migration specialists handle the entire transfer process for free. We migrate your files, databases, mailboxes, and SSL certificates with guaranteed zero downtime.
10. Summary & Free White-Glove Migration by TuuHost
Switching hosting providers does not need to be stressful, complicated, or risky. By utilizing parallel hosting, lowering DNS TTL, and testing locally with your hosts file, you maintain complete control over the entire transition.
Let TuuHost Migrate Your Website with Zero Downtime for Free
Don’t let migration anxiety trap you on an overpriced, slow web host. Choose any TuuHost high-speed LiteSpeed NVMe plan, and our senior migration engineers will transfer your website, databases, and emails with 100% data integrity and zero downtime at no extra charge.